
PEPLINK UNIVERSITY  •  A WEST NETWORKS TRAINING RESOURCE (352) 316-7701  ·  SHOP PEPLINK →

Author: peter

  • Setting Up the IP67 RJ45 Plug for the Peplink HD1 and HD2 Dome

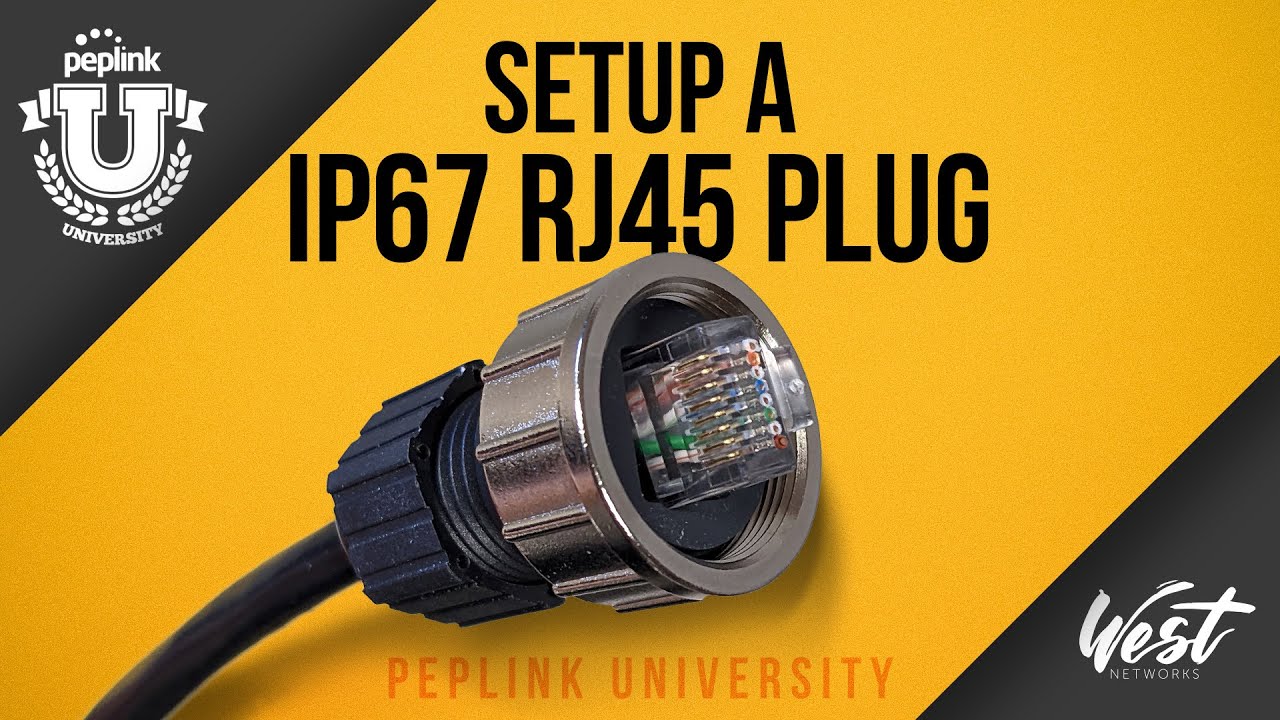
    Setting Up the IP67 RJ45 Plug for the Peplink HD1 and HD2 Dome

    The process of connecting the watertight connector for the HD1 dome involves a specific sequence of steps to ensure a secure and waterproof connection.

    Watch: Setting Up the IP67 RJ45 Plug for the Peplink HD1 and HD2 Dome · Peplink University

    Setting Up the IP67 RJ45 Plug for the Peplink HD1 and HD2 Dome

    Peter from West Networks gives a quick demonstration of setting up the IP67 RJ45 plug for the Peplink HD1 and HD2 Dome.

    Steps:

    • Pass the Un-crimped Wire through all 4 pieces of the Plug (Base, Silver Nut, Grey Seal, Black Cap)
    • Crimp Wire
    • Slide Silver Nut over Base
    • Insert Grey Seal piece into Base (This seals the gap between the wire and base)
    • Gently screw Black end cap over Base (do not fully tighten)
    • Slide Crimped Wire end fully into the Base, align Crimped wire with the notch in the Base
    • Tighten Black Cap until the Grey Seal is visible.

    Related

    Comments are closed.

    Originally presented on Peplink University with Professor P. Now part of the Connectivity 101 library.
  • Installing a SIM Card in the HD1 Dome

    Installing a SIM Card in the HD1 Dome

    Watch: Installing a SIM Card in the HD1 Dome · Peplink University

    Quick tutorial from Peter West on Installing a SIM Card in the HD1 Dome. The process is the same for a HD2 Dome.

    1. With the Dome facing down, remove the 6 screws along the perimeter

    2. Find the “key” on the edge, use this to help separate the cover from the base. Note: The difference between the HD1 and HD2 is the number of modules and there the number of SIMs available to use.

    a. If there is one module, you have an HD1. This means only the SIM slots next to the module will work

    b. If there are two modules, you can use all SIM slots

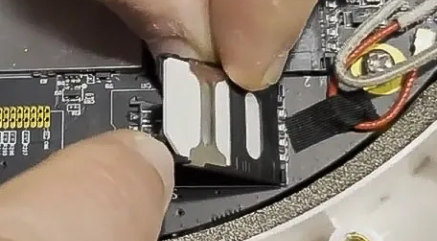
    3. To insert the SIM, slide the metal piece towards the black plastic piece of the SIM holder (you will hear a click).

    4. Lift up on the end with the metal piece.

    5. Slide your SIM card in between the Metal and plastic to hold the SIM.

    For correct orientation of the SIM card, use the cut corner as a guide. it will be visible on the outside and is used to click the SIM back down

    Use the Corner of the SIM as a guide.

    1. Once set back down into place, slide the metal piece back into place to lock it down. Repeat for each SIM

    2. Place cover back on the base. Use the two small holes in the center of the cover as a guide. Make sure the align with the spots on the base This will also align the “key” on the edge of the device.

    1. Once placed on, screw the 6 screws back and you are finished.

    Related

    Comments are closed.

    Originally presented on Peplink University with Professor P. Now part of the Connectivity 101 library.